
New School
Dear Libby,
Bittersweetness! We are now officially nearing the end of summer. On the one hand, I am glad because my job workload goes down significantly at the end of September. But, on the other hand, I am sad because this summer has flown by and I feel like I just cannot believe my little June is another year older and headed into her second year of preschool! Where has my baby gone?

I don’t know if I told you this, but because of our move over the winter, she is changing schools and will be starting one just blocks from our home. I am so excited to be able to walk her there in the morning with Harvey (on a side note, we bit the bullet and bought a Double Bob - LOVE) while the summer weather lingers. And such proximity will surely allow me to be a little more involved as a parent – maybe go on some field trips or volunteer to teach some shit. You can see my dedication.

Anyway, with the new school came all of this new paperwork, much of which I ignored completely (if it's important enough, I’m sure they’ll let me know verbally if I eff up). But there was this one very big bright piece of paper that nearly blinded me as I stuffed it into recycling: Allergy Policy.
Here is the thing about allergies: kids with allergies are annoying until it is your kid. Then, it is terrifying. June was 7 months old when she had a severe allergic reaction to eggs. Of course, I didn’t have an Epi Pen on hand, so I overdosed her with Benadryl while simultaneously on the phone with her pediatrician and poison control. To this day I don’t know how we didn’t end up in the ER. Much of the evening is a blur, but I do remember the night “sleeping” on her floor next to her crib while I made sure she took every breath.

Thankfully, that was the one and only time June had a serious food reaction. She eventually grew out of the egg thing, but that one episode, and the subsequent two years of her life while I worked to give her everything everyone else could have sans les oeufs, has given me such an appreciation for other parents who live with kids with allergies. It’s difficult for adults to say no to foods they shouldn’t eat. Try telling a 2 year old they can’t have a chocolate chip cookie because it has eggs or nuts or wheat. Borderline cruel. And while sending your allergy-free kid to a peanut-free school may be an inconvenience for you, sending a kid with an allergy to a place where that food is served feels like sending them into battle: you’re constantly worrying about their safety. This, in addition to the regular shit that kids go through when they leave your home.
The allergy policy at June’s school isn’t particularly strict, but it still reminded me of how important it is to be sensitive to the other kids in her class. So, for June’s first day of school snack, I will send her with one of our favorite nut-free, egg-free treats: homemade graham crackers.
We love these things. Smeared with a little butter or cream cheese frosting, or topped with chocolate and a roasted marshmallow, they are crispy and subtle and perfect for kids.
And just in case you are wondering if they are worth the effort - as in, can they really be better than Honey Maid - this afternoon, June asked me for graham crackers with peanut butter for snack at the park. And as she was running upstairs to grab her shoes, she turned and said, "Wait, Mommy? The homemade graham crackers..."
Homemade Graham Crackers
So many recipes for graham crackers call for molasses, something that makes them more akin to a gingersnap than an actual Honey Maid. This recipe, from Deb Perelman's food blog Smitten Kitchen, avoids this by using a combination of honey, for a lighter sweetening agent, and dark brown sugar for just a hint of molasses. Also, she includes ingredient amounts by weight, which is truly the ideal way to bake. If you have a kitchen scale, I encourage using those measurements in lieu of cups and teaspoons. Your results will be more predictable and reproducible.
Oven at 350. Line a baking sheet with parchment paper (this is actually annoyingly important or they stick stick stick)
2 ½ C (375 grams) all-purpose flour (I subsititued 1 C of graham flour – which is essentially finely ground whole wheat flour)
1 C (176 grams) dark brown sugar, lightly packed
1 tsp (6 grams) baking soda
¾ tsp kosher or coarse salt
7 Tlbsp (100 grams) unsalted butter, cut into chunks and frozen
1/3 C (114 grams) mild-flavored honey, such as clover
5 Tlbsp (77 grams) whole milk
2 Tblsp (27 grams) pure vanilla
Topping (optional)
3 Tlbsp (43 grams) granulated sugar
1 tsp (5 grams) ground cinnamon
To make the dough, combine flour, sugar, baking soda and salt in a food processor fitted with a steel blade. Pulse to combine. Add in the butter, pulsing on and off until the mixture is the consistency of coarse meal.
In a separate bowl, whisk together honey, milk and vanilla. Add to the flour mixture and pulse a few times until the dough just starts to come together. Pour the dough out – it will be very sticky – dust with flour and lightly knead once or twice to pull it all together, then shape into a rectangle. Dust with flour, then cover with plastic wrap and store in fridge at least 2 hours, until firm (I have kept the dough at this stage for 4 or 5 days with no problem, rolling out cookies as needed below).
Meanwhile, make topping by combining the cinnamon and sugar.
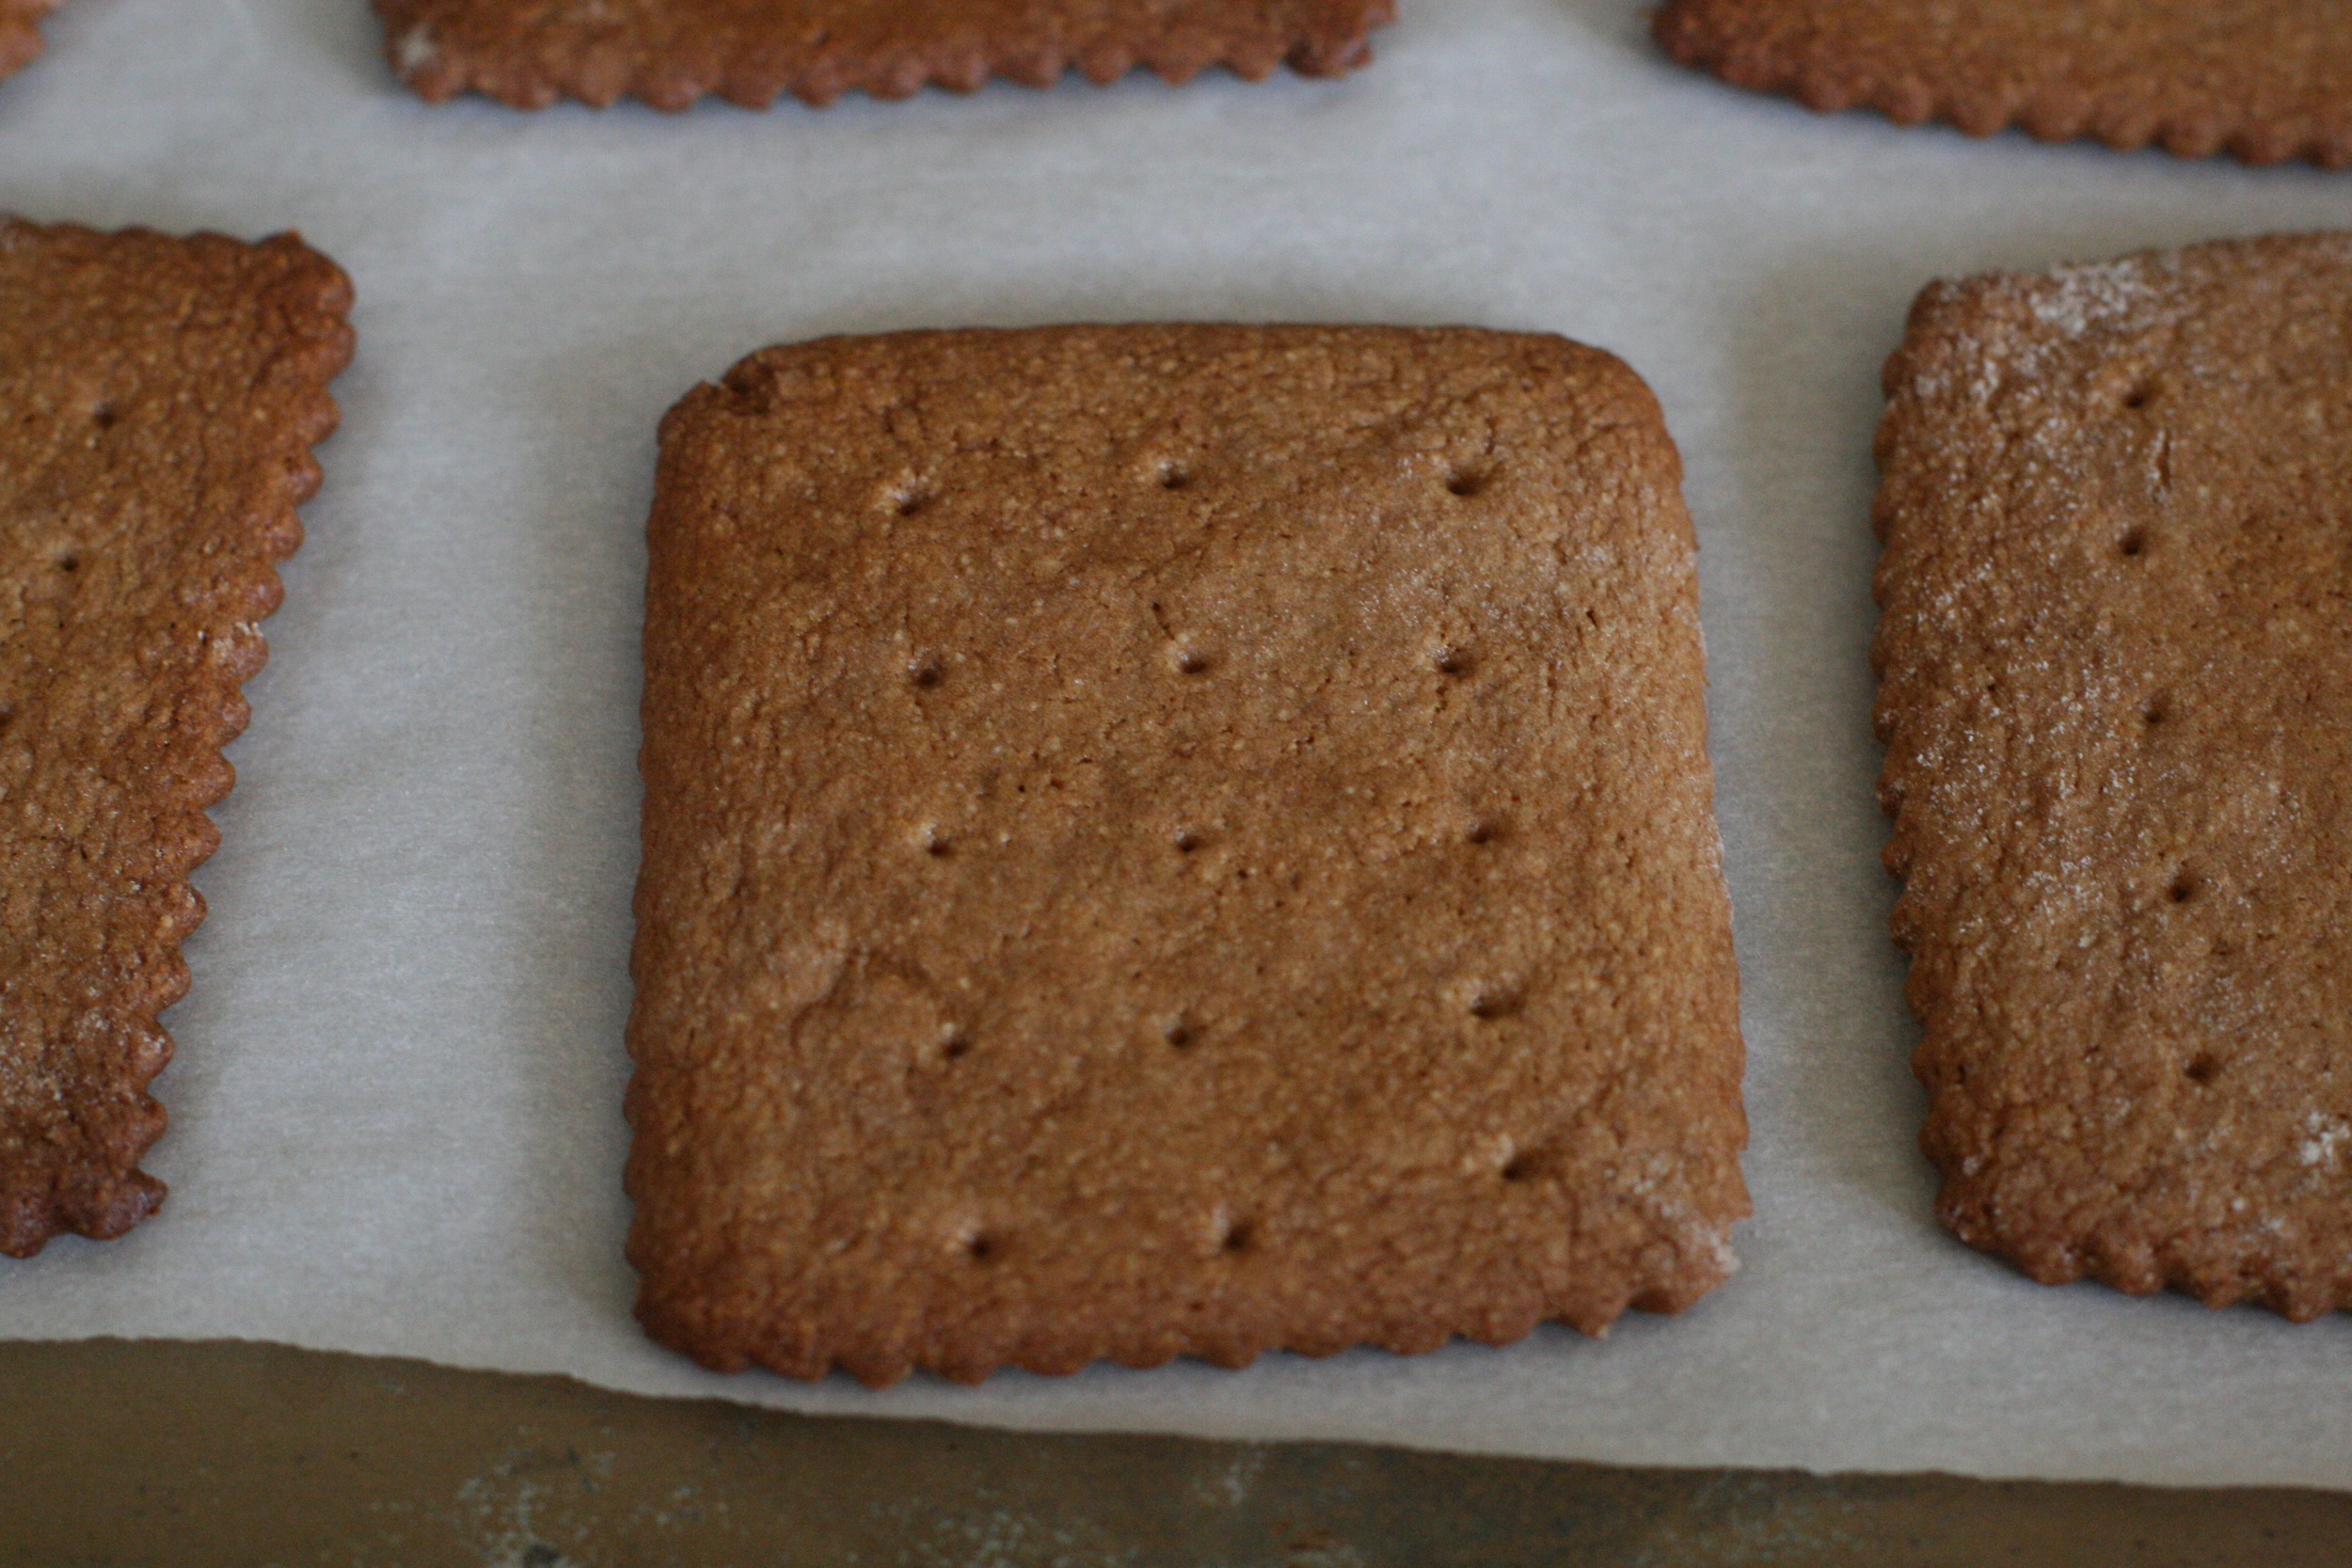
When chilled, divide the dough in half, retuning one half to the fridge. Well flour your work surface and roll out the dough into a long rectangle, about 1/8” thick. The dough is very sticky, so flour and move the dough frequently, like you would with pie dough. At this point, you can cut your crackers into any size or shape, using a pizza cutter, a fluted ravioli cutter (like I did), cookie cutters, what have you. Lay the shaped crackers onto your cookie sheet and chill again in the fridge, at least 30-45 minutes. Gather any scraps into a ball, chill until firm, then re-roll for more cookie shapeage.
Lastly, decorate your cookies by poking holes at will (I use a metal skewer) and sprinkling with the cinnamon sugar topping. Bake 15 minutes, assuming your oven temp is accurate (may require a bit more, so keep an eye on them after this point). Let cool. Enjoy!